Installation
This page covers how to install Novigem into a Salesforce sandbox and prepare it for production.
Steps at a glance
Decide where to install first (sandbox recommended)
Get the Novigem install link from novigem.com/install
Confirm and start installation, choosing “Admins Only”
Assign Novigem licences to each user (production orgs only)
Assign the Novigem Admin, Manager, and User permission sets
Add Novigem tabs to your app and verify the installation
1. Decide where to install first
We strongly recommend installing into a sandbox before production:
- You can test rules and challenges safely
- You can validate data volumes and performance
- You can iterate on design with your pilot team
2. Get the Novigem install link
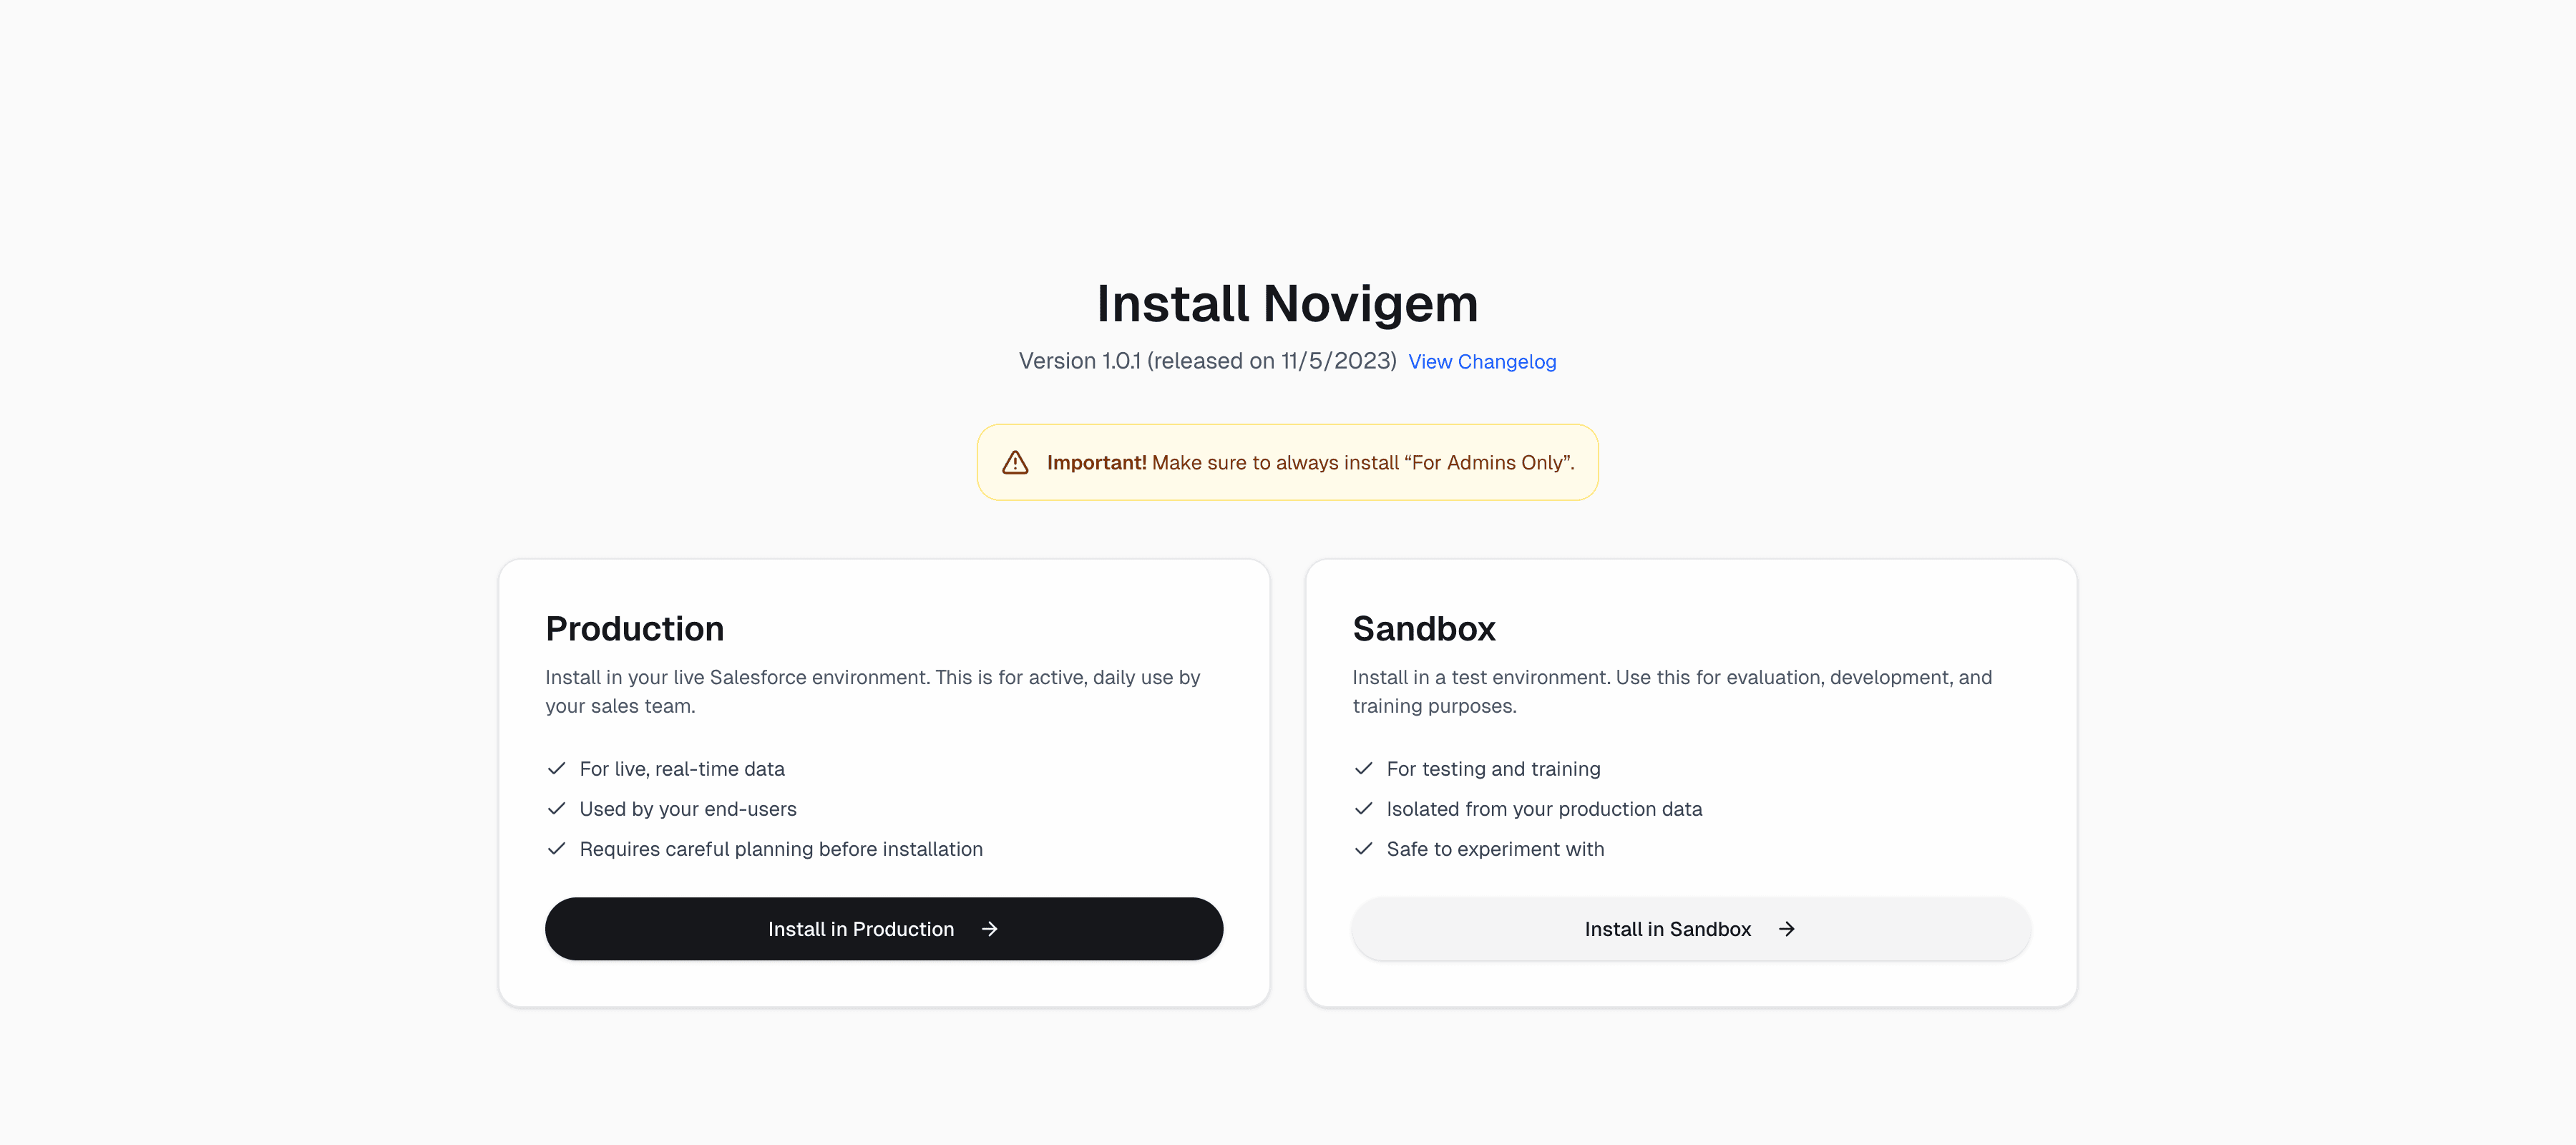
Use the managed package URL provided by the Novigem team via https://novigem.com/install .
Novigem is also listed on the Salesforce AppExchange, where it has passed Salesforce security review. You can install from Novigem on Salesforce AppExchange instead if your org requires packages to come through the marketplace, or if you want to read the listing before installing.
You’ll have the option between two links:
- Sandbox install URL, accessible directly via https://novigem.com/install?env=sandbox
- Production install URL, accessible directly via https://novigem.com/install?env=production
Open the appropriate link in a browser where you are logged into Salesforce.
3. Confirm and start installation
Wait until Salesforce confirms the package is installed. This can take a few minutes.
4. Assign Novigem licences (production only)
Novigem is a licensed managed package. Every user who should earn points needs a licence as well as a permission set. The two are separate, and a permission set on its own is not enough: users who have one but no licence are skipped during rule evaluation, so they earn no points and show no activity in Team Pulse.
In sandbox, scratch, and developer orgs the licence is site-wide. Everyone has one automatically and there is nothing to assign, so you can skip this step entirely while you build and pilot.
In production you assign licences per user:
- Go to Setup → Installed Packages
- Find Novigem and click Manage Licenses
- Click Add Users and assign a licence to every rep, manager, and admin in scope
That difference is what catches people out. Your sandbox pilot works perfectly because everyone is licensed by default, then the same configuration awards nothing in production because nobody is. If points stop the moment you go live, check licences before you check anything else.
Check your remaining licence count on the same screen before a wider rollout. If you are short, talk to the Novigem team before adding users.
5. Assign permission sets
After installation:
- In Salesforce, go to Setup → Permission Sets
- Locate the Novigem permission sets:
Novigem AdminNovigem ManagerNovigem User
- Assign:
Novigem Adminto system admins and/or ownersNovigem Managerto team leads who need Team PulseNovigem Userto any test users in your pilot group
Using permission sets instead of profiles keeps access predictable and easy to adjust.
6. Add Novigem to your app navigation (optional)
Novigem comes with a standard app that contains different tabs.
We recommend rolling out within your existing sales app. To make Novigem visible:
- Go to App Manager in Setup
- Edit the relevant Salesforce app used by your pilot team
- Add the Novigem tabs to the navigation:
- Home: user dashboard (My Badges, My Challenges, My Points)
- The following tabs are object tabs for the Novigem Admin:
- Challenges: create and manage challenges
- Rules: define point-awarding conditions
- Badges: configure achievements
- Badge Awards: track badge assignments
- Ledger Entries: audit log of all points
- Challenge Progress: view participant progress
- Novigem Admin: admin settings and configuration
- Add the Team Pulse tab for managers. It is granted by both the Novigem Manager and Novigem Admin permission sets.
- Save and verify the tabs are visible for the profiles that need them
7. Verify the installation
Log in as:
-
A Novigem Admin and confirm you can:
- Open Novigem Admin and see the Overview page with stats
- Open Challenge Impact from the same console
- Access Challenges, Rules, and Badges from the navigation
- See all five Settings sections: General, Notifications, Badge Style, Integrations, and Scheduled Jobs
-
A Novigem Manager and confirm you can:
- Open the Team Pulse tab and see your direct reports. An empty screen usually means the standard Manager field is blank on those User records, not that something is broken.
-
A Novigem User and confirm you can:
- Access the Home tab to see My Badges, My Challenges, and My Points
- View any active challenges and your progress
If anything fails, double-check:
- Licence assignments, if this is production (Setup → Installed Packages → Manage Licenses)
- Permission set assignments
- Tab visibility in the Salesforce app
- Profile vs. permission conflicts
Next, continue with Basic configuration to set up the core behaviour model.